Real estate overview
This widget displays all properties (real estates) of a client in a list and can be used as an access point for the individual real estates.
Each real estate is indicated on the real estate overview with a photo, the address and responsible persons from the management and caretaker service. It also shows how many fault and user reports are currently pending for each real estate.
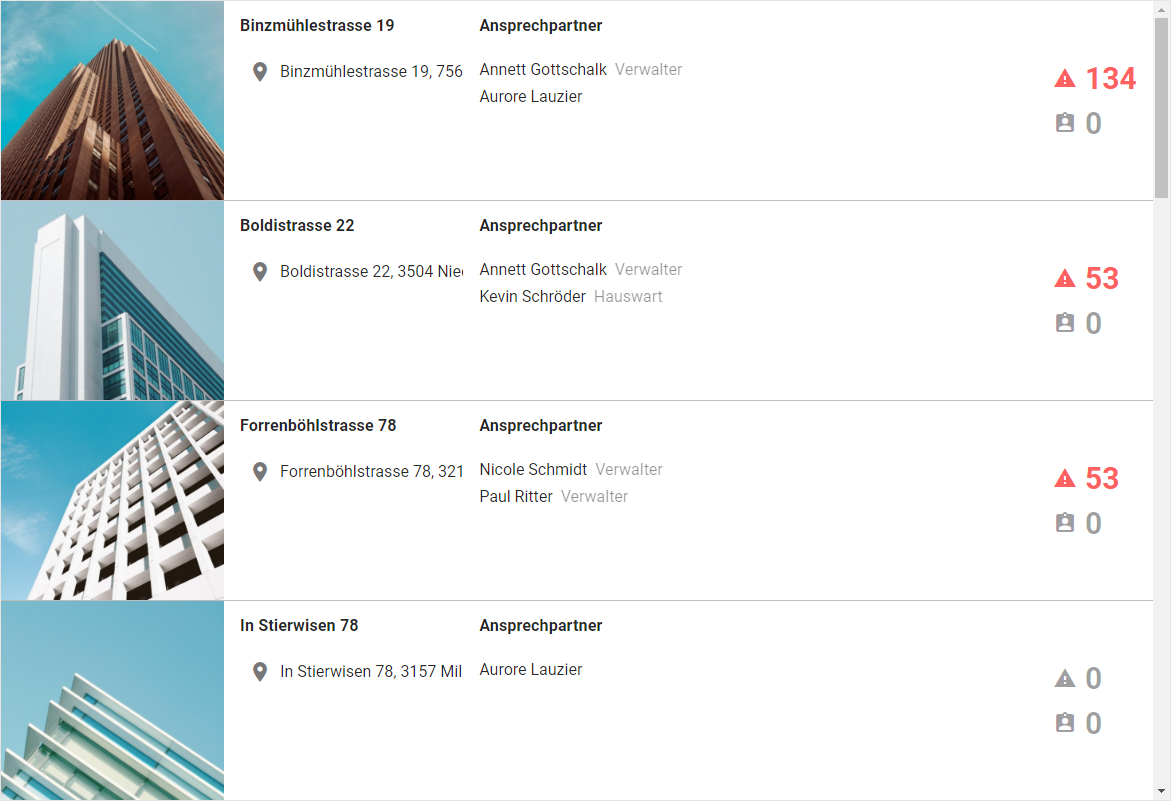
The real estate overview with the address of the real estate, the contact persons as well as the number of open alarms and user reports
By clicking on one of the real estates, you navigate directly to the corresponding real estate group and thus automatically to the first dashboard of this group. If you have not yet set up a dashboard on your real estate, you can do so now. To do this, follow the instructions under Create dashboards.
To effortlessly create a dashboard on your real estate that is optimized for property management, proceed as follows:
Enter the edit mode by clicking Edit Dashboards at the top right.
If you don’t have a dashboard yet, create one according to Create dashboards and give it the name “Welcome”. This dashboard is only needed as an intermediate step and can be deleted at the end of this section.
Add a widget of the type Launch Pad to the dashboard you just created (or to any existing dashboard) by clicking Add widget at the lower right.

Exit the dashboard’s edit mode by clicking on Quit editing at the top right.
Click on the large button Facility management on the launch pad widget that you just placed.
This now creates a new dashboard with several widgets specifically for real estate management.
You can then delete the temporary “Welcome” dashboard that you created in the first step.
If you have already set up a dashboard like this for another real estate, you can simply copy it for use with another real estate:
Navigate to the property for which you want to set up a new real estate dashboard.
Enter the edit mode by clicking on Edit Dashboards at the top right.
Follow the instructions under Reuse existing dashboards.
This creates a copy of the selected dashboard with all widgets placed on it in the target real estate.
Note
When you create a new real estate group, a real estate dashboard is automatically created for you, unless you have explicitly selected a creation set in the Create Dashboards From Creation Set option when you created the group. Alternatively, you can also add an existing real estate dashboard to a creation set and select it when creating real estate groups. For more information about creation sets, see Creation sets.