Initial setup
In order to use your Lumina Operation Center, you have to register it with Avelon Cloud or your local Alcedo Inhouse server.
Note
Before proceeding, make sure you have the registration code of your device ready. You will receive it upon ordering a Lumina Operation Center from our webshop. If you don’t have a registration code, please contact Avelon support.
Boot up the device
Attach the Lumina Operation Center with your technical network via the LAN1 port.
Make sure that the Lumina Operation Center is in the same network as the Avelon server with which you want to synchronize it. If you want the device to synchronize with Avelon Cloud, it needs access to the Internet. If you want the device to synchronize with an Alcedo Inhouse system, it needs access to that particular server.
Connect the device using the power supply provided (24 VDC). The device will turn on automatically.
Wait until the device activation wizard appears on screen.

Note
It can take several minutes for the Linux operating system to boot up and for the local Docker server and the Avelon middleware to start. If the wizard doesn’t appear after 10 minutes, you can manually open the Firefox browser by tapping on its icon, and then enter
http://localhostin the address bar. If the browser returns an error message or the page remains empty, refresh the page in regular intervals until the activation wizard appears.Note
By default, the device is also accessible via IP
192.168.1.234or via Bonjour service under the addresshttp://lumina-xxxxxxxx.local, wherexxxxxxxxis the serial number of the device. If you have a computer that is in the same network as the Lumina Operation Center, you can also open the activation wizard in a regulard web browse with this address.In the activation wizard, enter the registration code of your Lumina Operation Center. You should get this code as part of the product package, either on a piece of paper or in an email. After confirming the registration code with Register, the device is registered.
In the next step, you’ll have to configure the LAN settings of the device.
Configure network settings
In the activation wizard, click on Network Settings… to open the configuration interface of the Lumina Operation Center.
On the configuration interface, click on Log in at the top right and use the login credentials below to log in:
Username: beetle-admin
Password:
sm@rtCopper48
Note
To prevent unauthorized entities from changing the network settings on the Lumina Operation Center, it is recommended to change the default password. You can do this on the Users page.
After logging in, click on Connectivity in the left sidebar.
On the Connectivity page, scroll down to the LAN card and click on Configure….
Disable DHCP and set the IP address, subnet mask and gateway address for the Lumina Operation Center. Confirm the settings with OK.
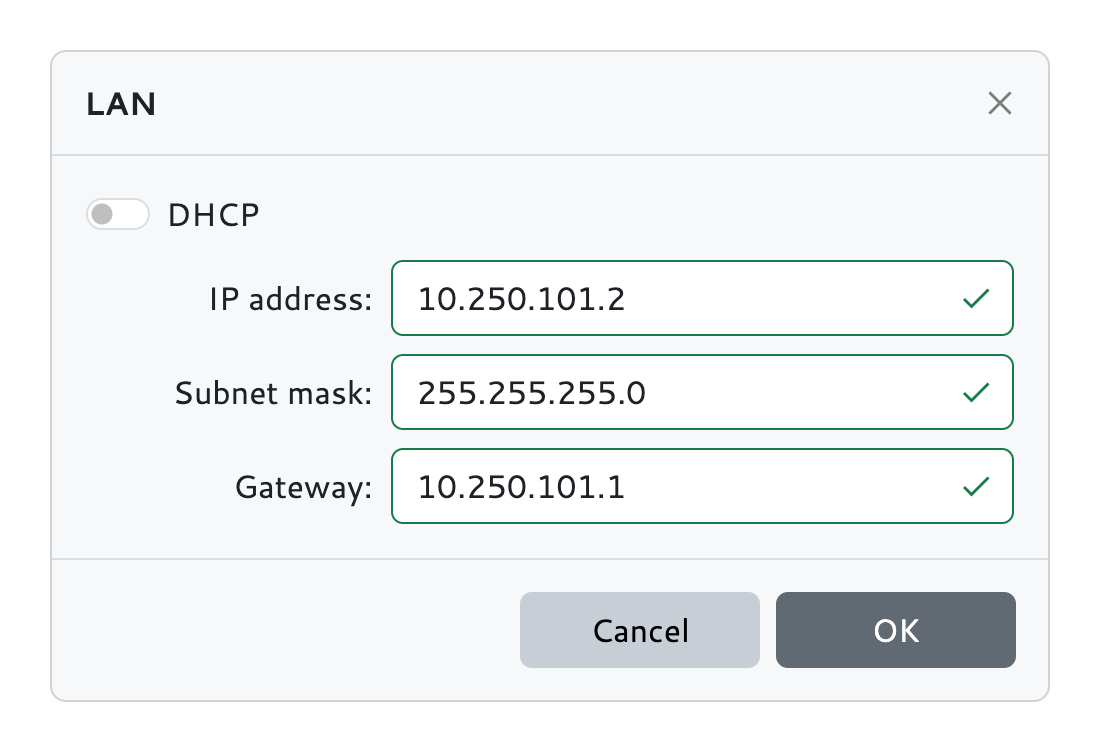
Apply the new settings by clicking on Apply changes.

Now return to the activation wizard. You can do so by clicking on Home in the left sidebar and then on the link next to Avelon server, or you can click on Lumina Operation Center in the top left corner of the page.
Finish product registration
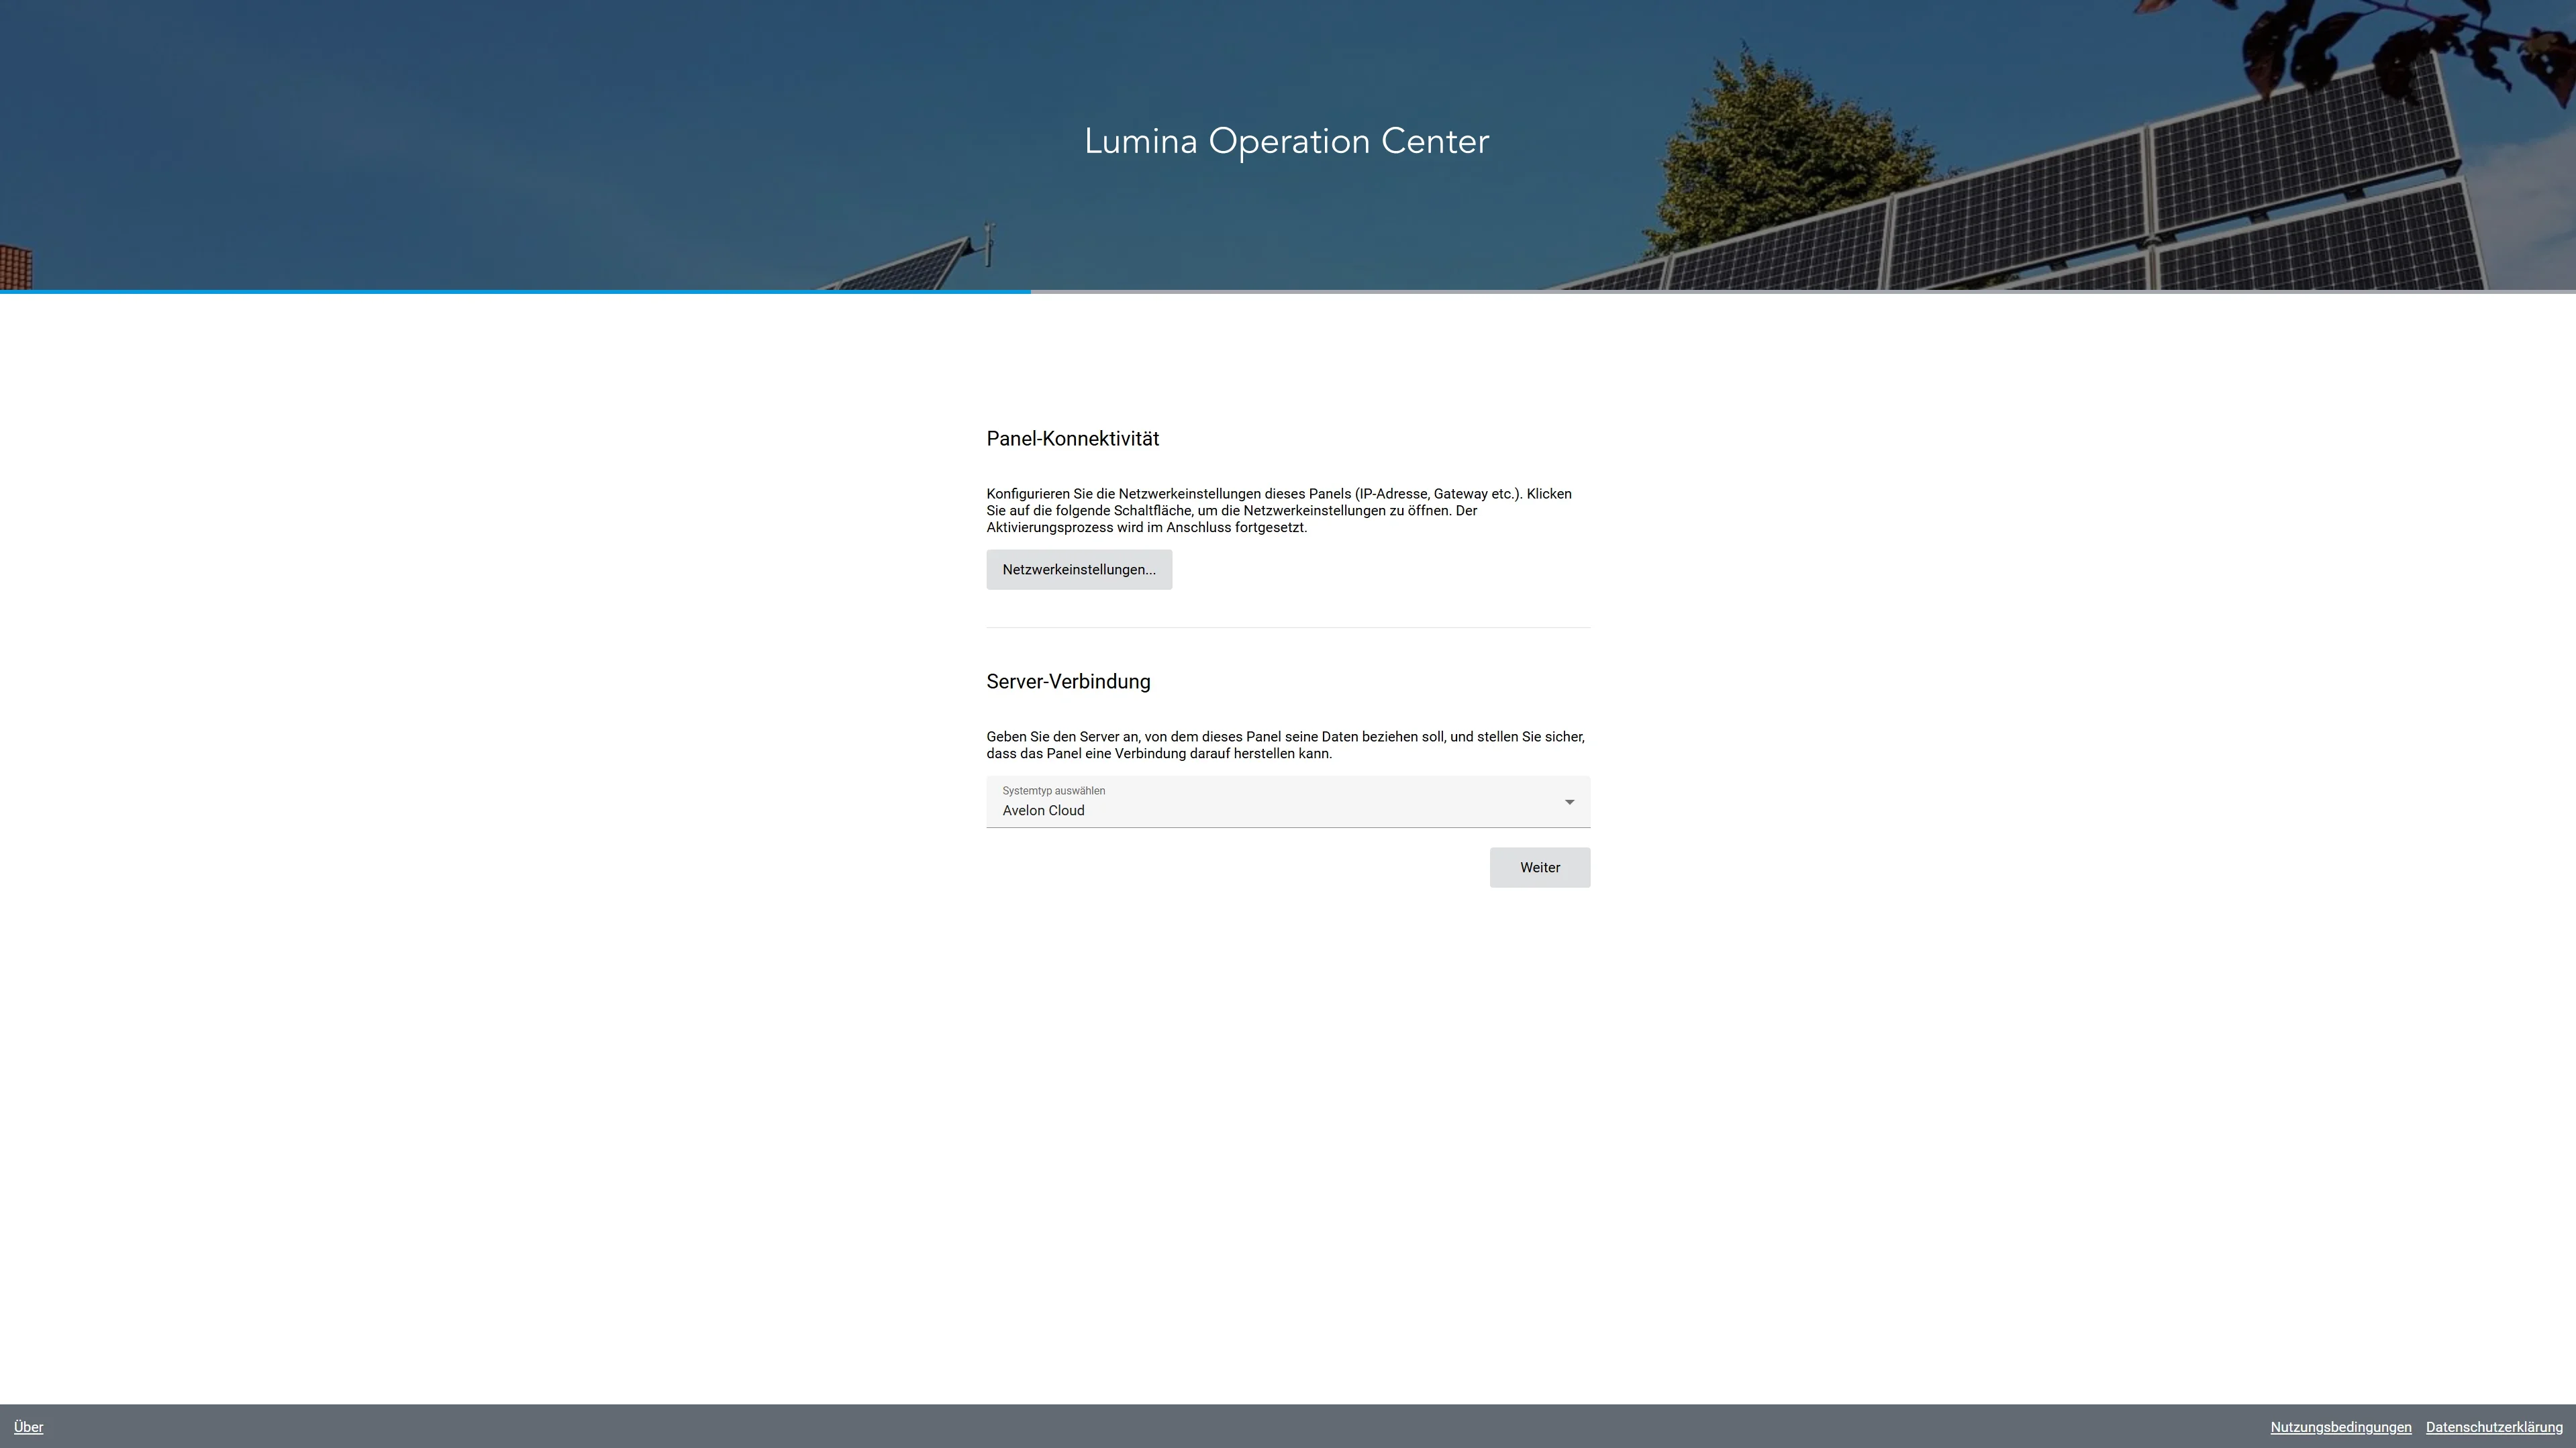
Back on the activation wizard, select the type of your system with which you want to synchronize the Lumina Operation Center under Choose System Type.
Avelon Cloud
The device synchronizes with avelon.cloud over the Internet.
Alcedo Inhouse
The device synchronizes with an Alcedo Inhouse system in the local network.
We’ll refer to the selected system as the base system.
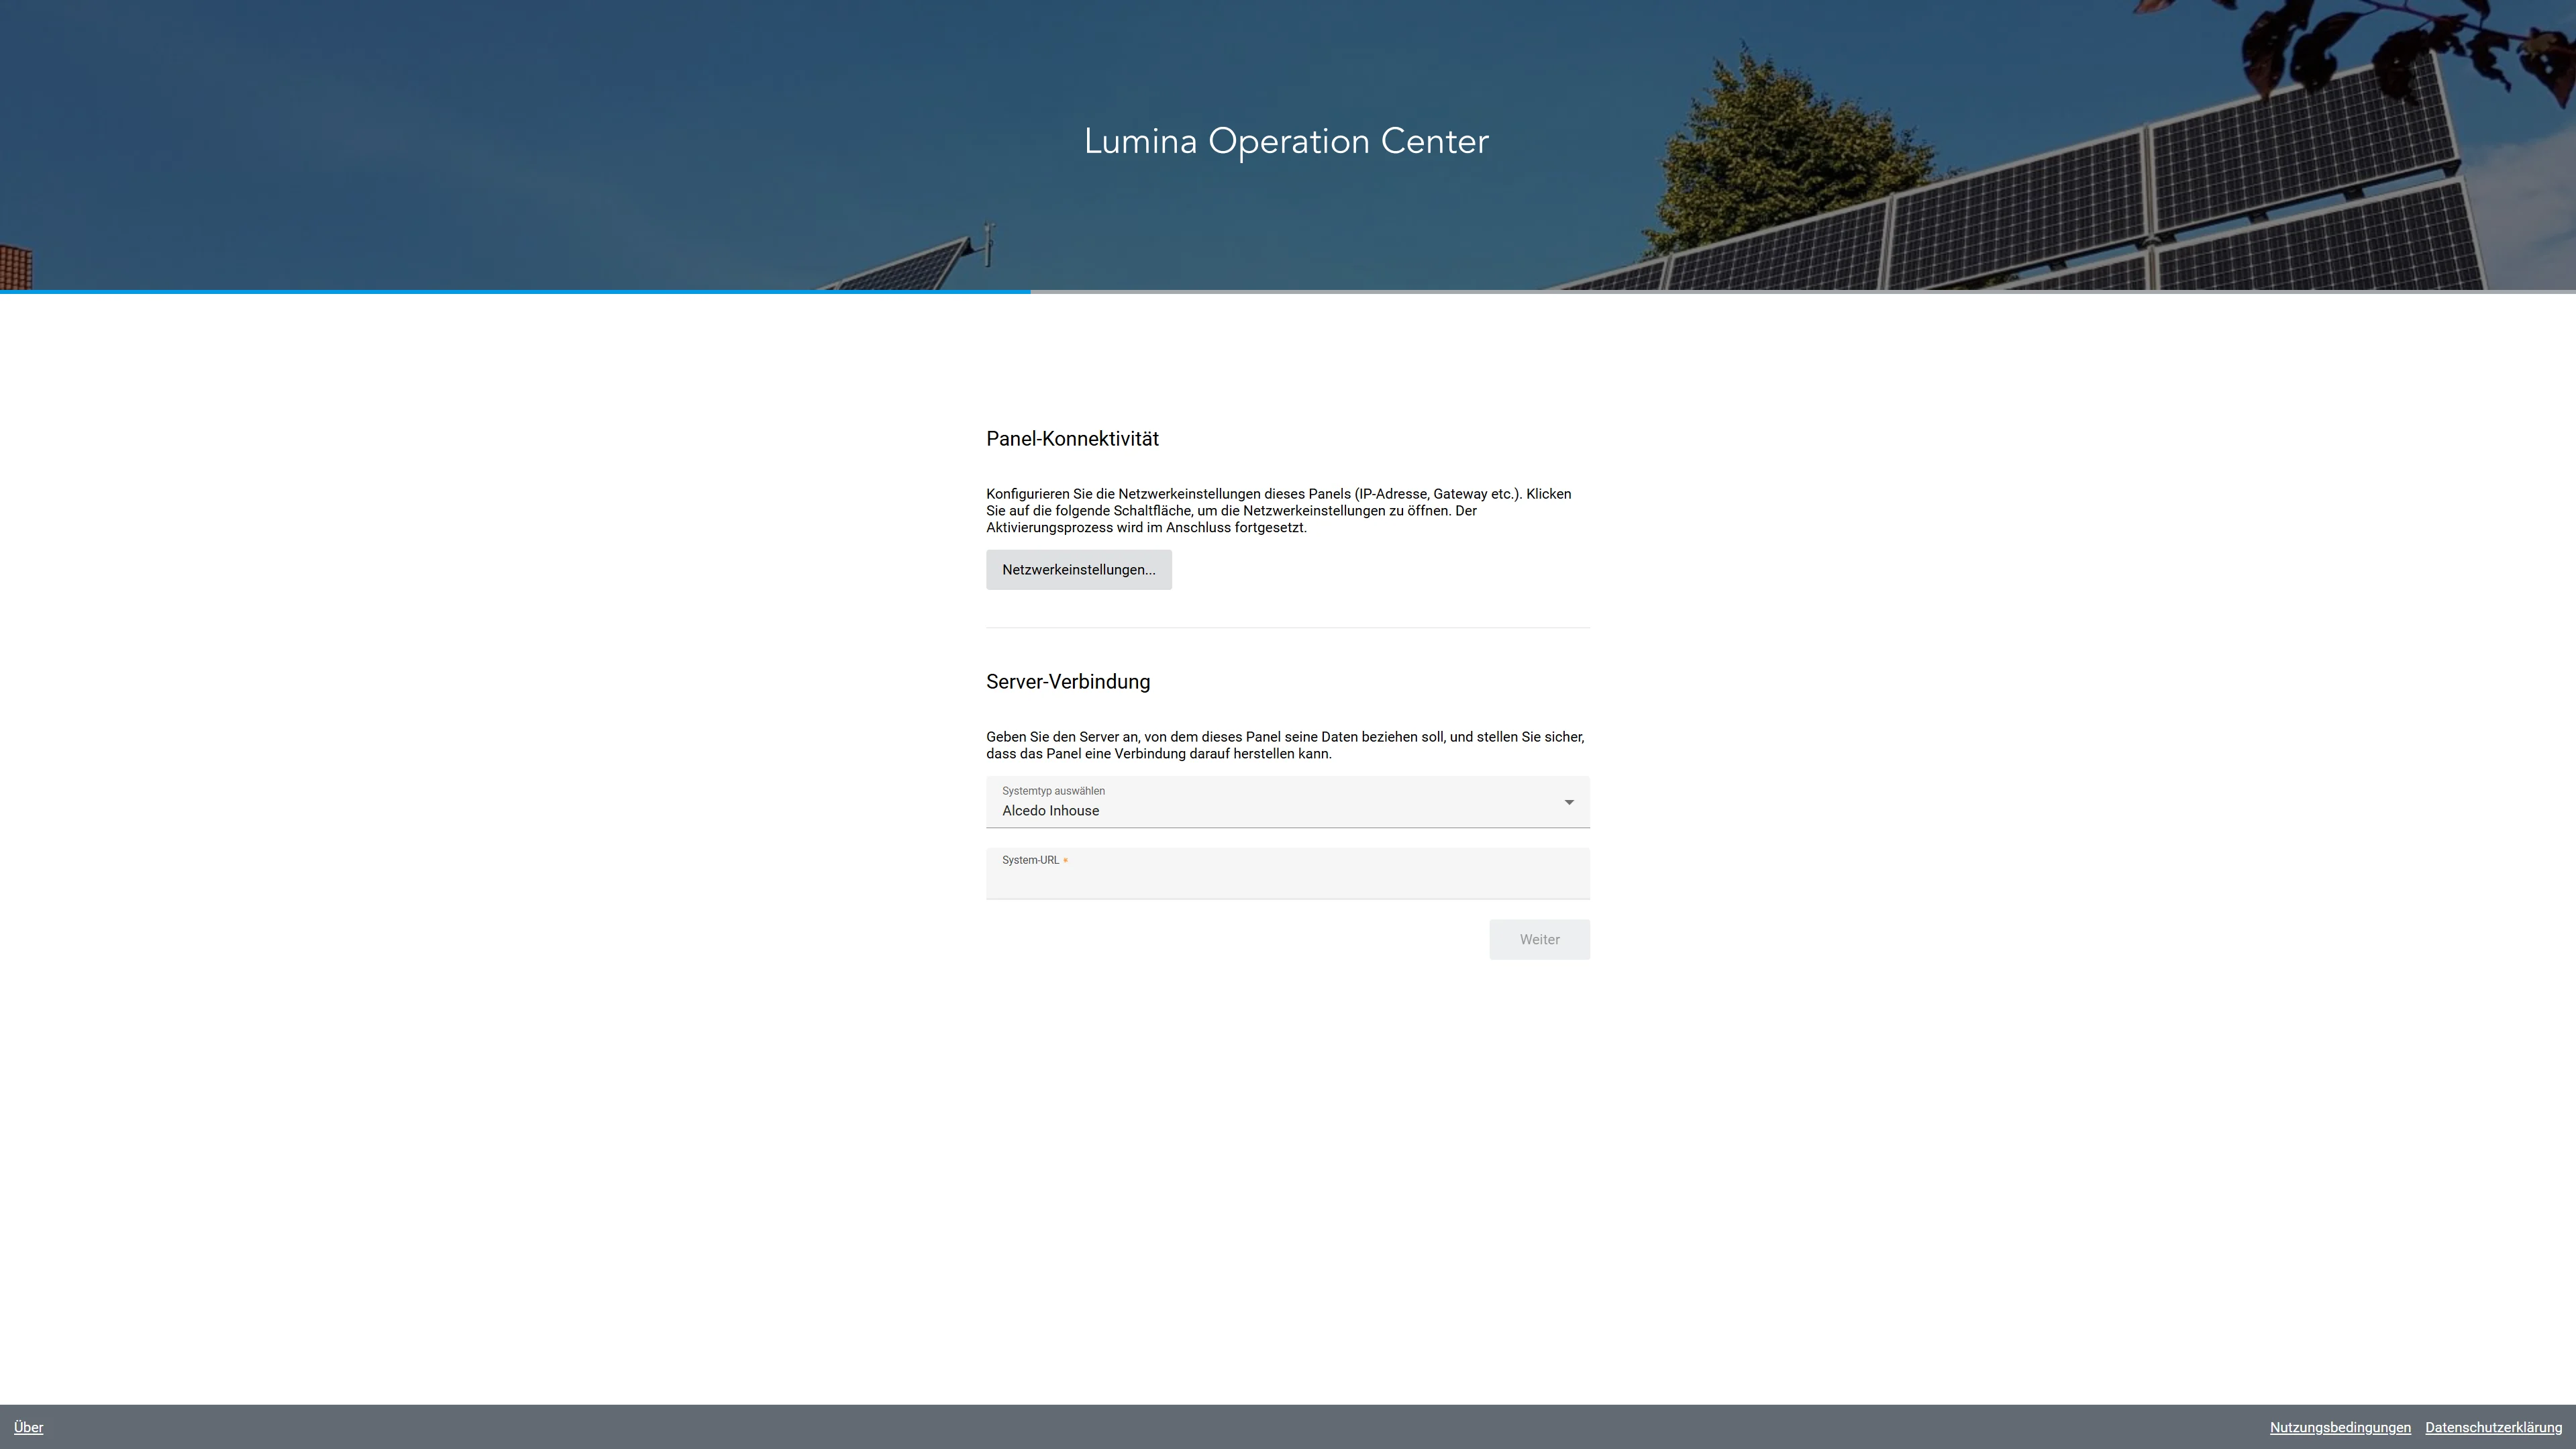
If you’ve selected Alcedo Inhouse as the system type, you’ll have to enter the URL of your Alcedo Inhouse server in the field System URL below, e.g. “https://my-inhouse-system.local”. Please ask your network administrator for the correct URL of your Alcedo Inhouse system if you’re not sure.
Click on Next.
The Lumina Operation Center is now ready to connect to the base system.
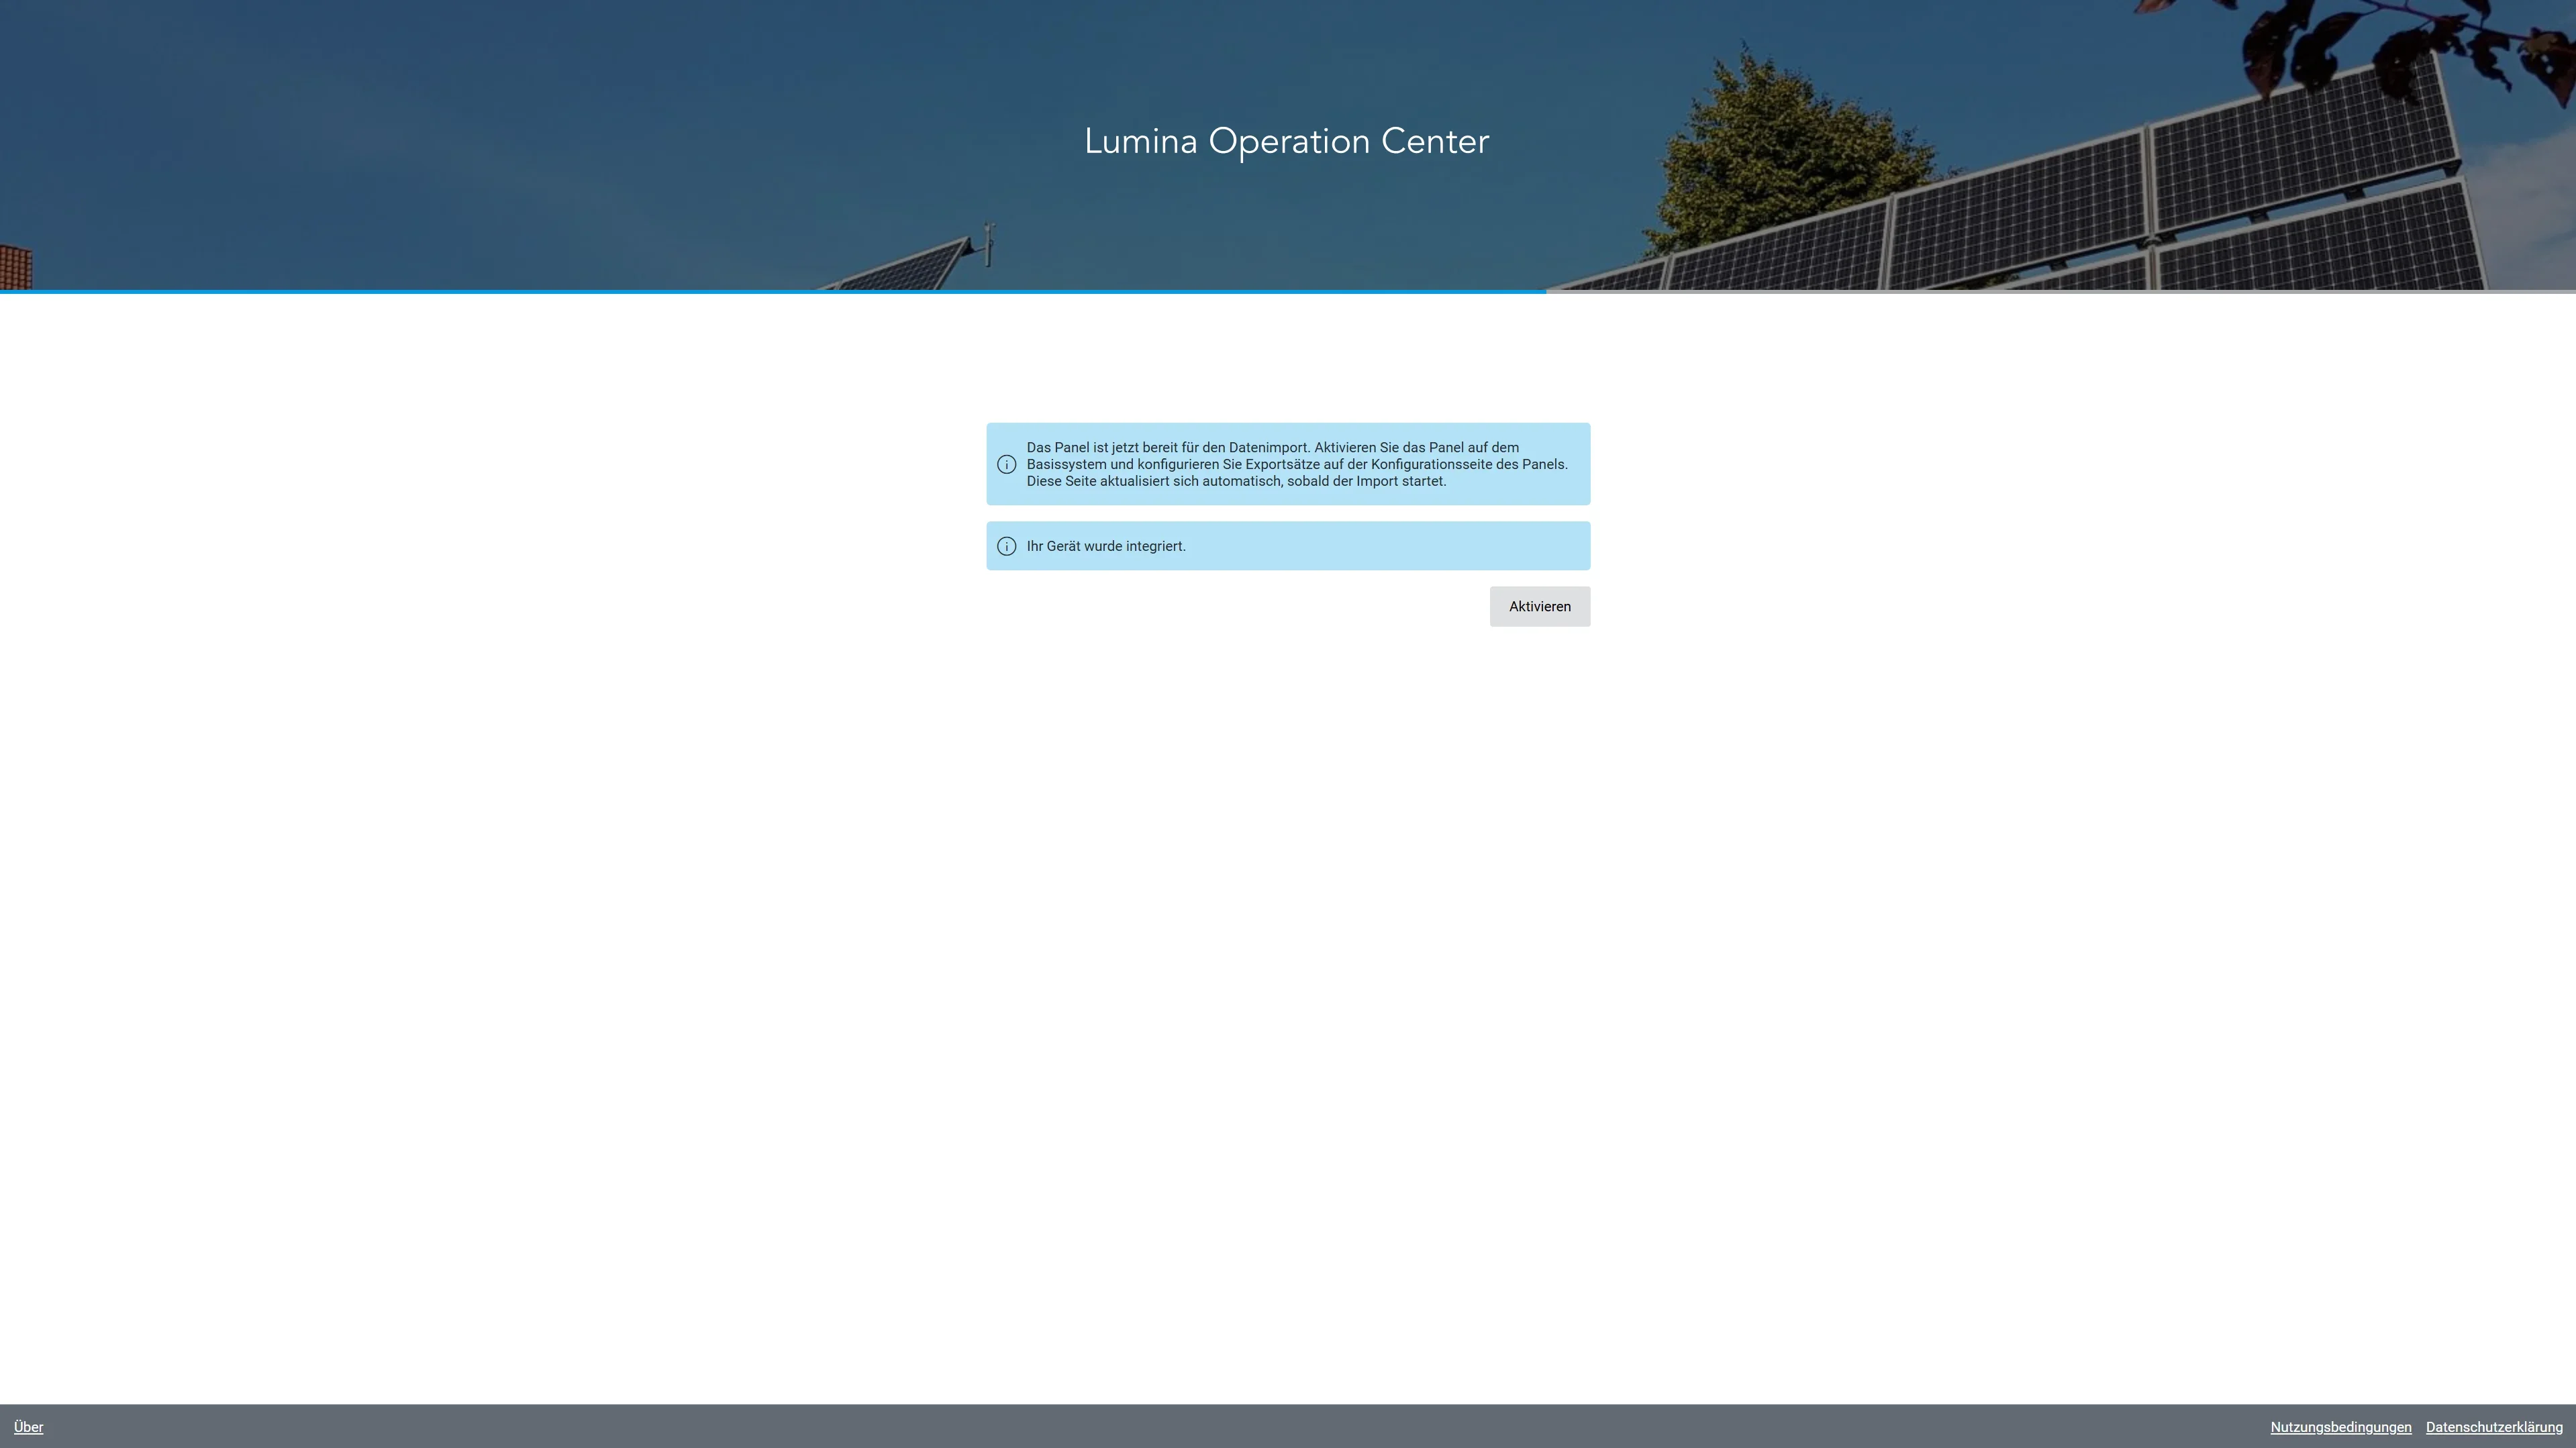
Click on Activate. This will take you to the login page of the base system (Avelon Cloud or Alcedo Inhouse, depending on your choice in the first step).
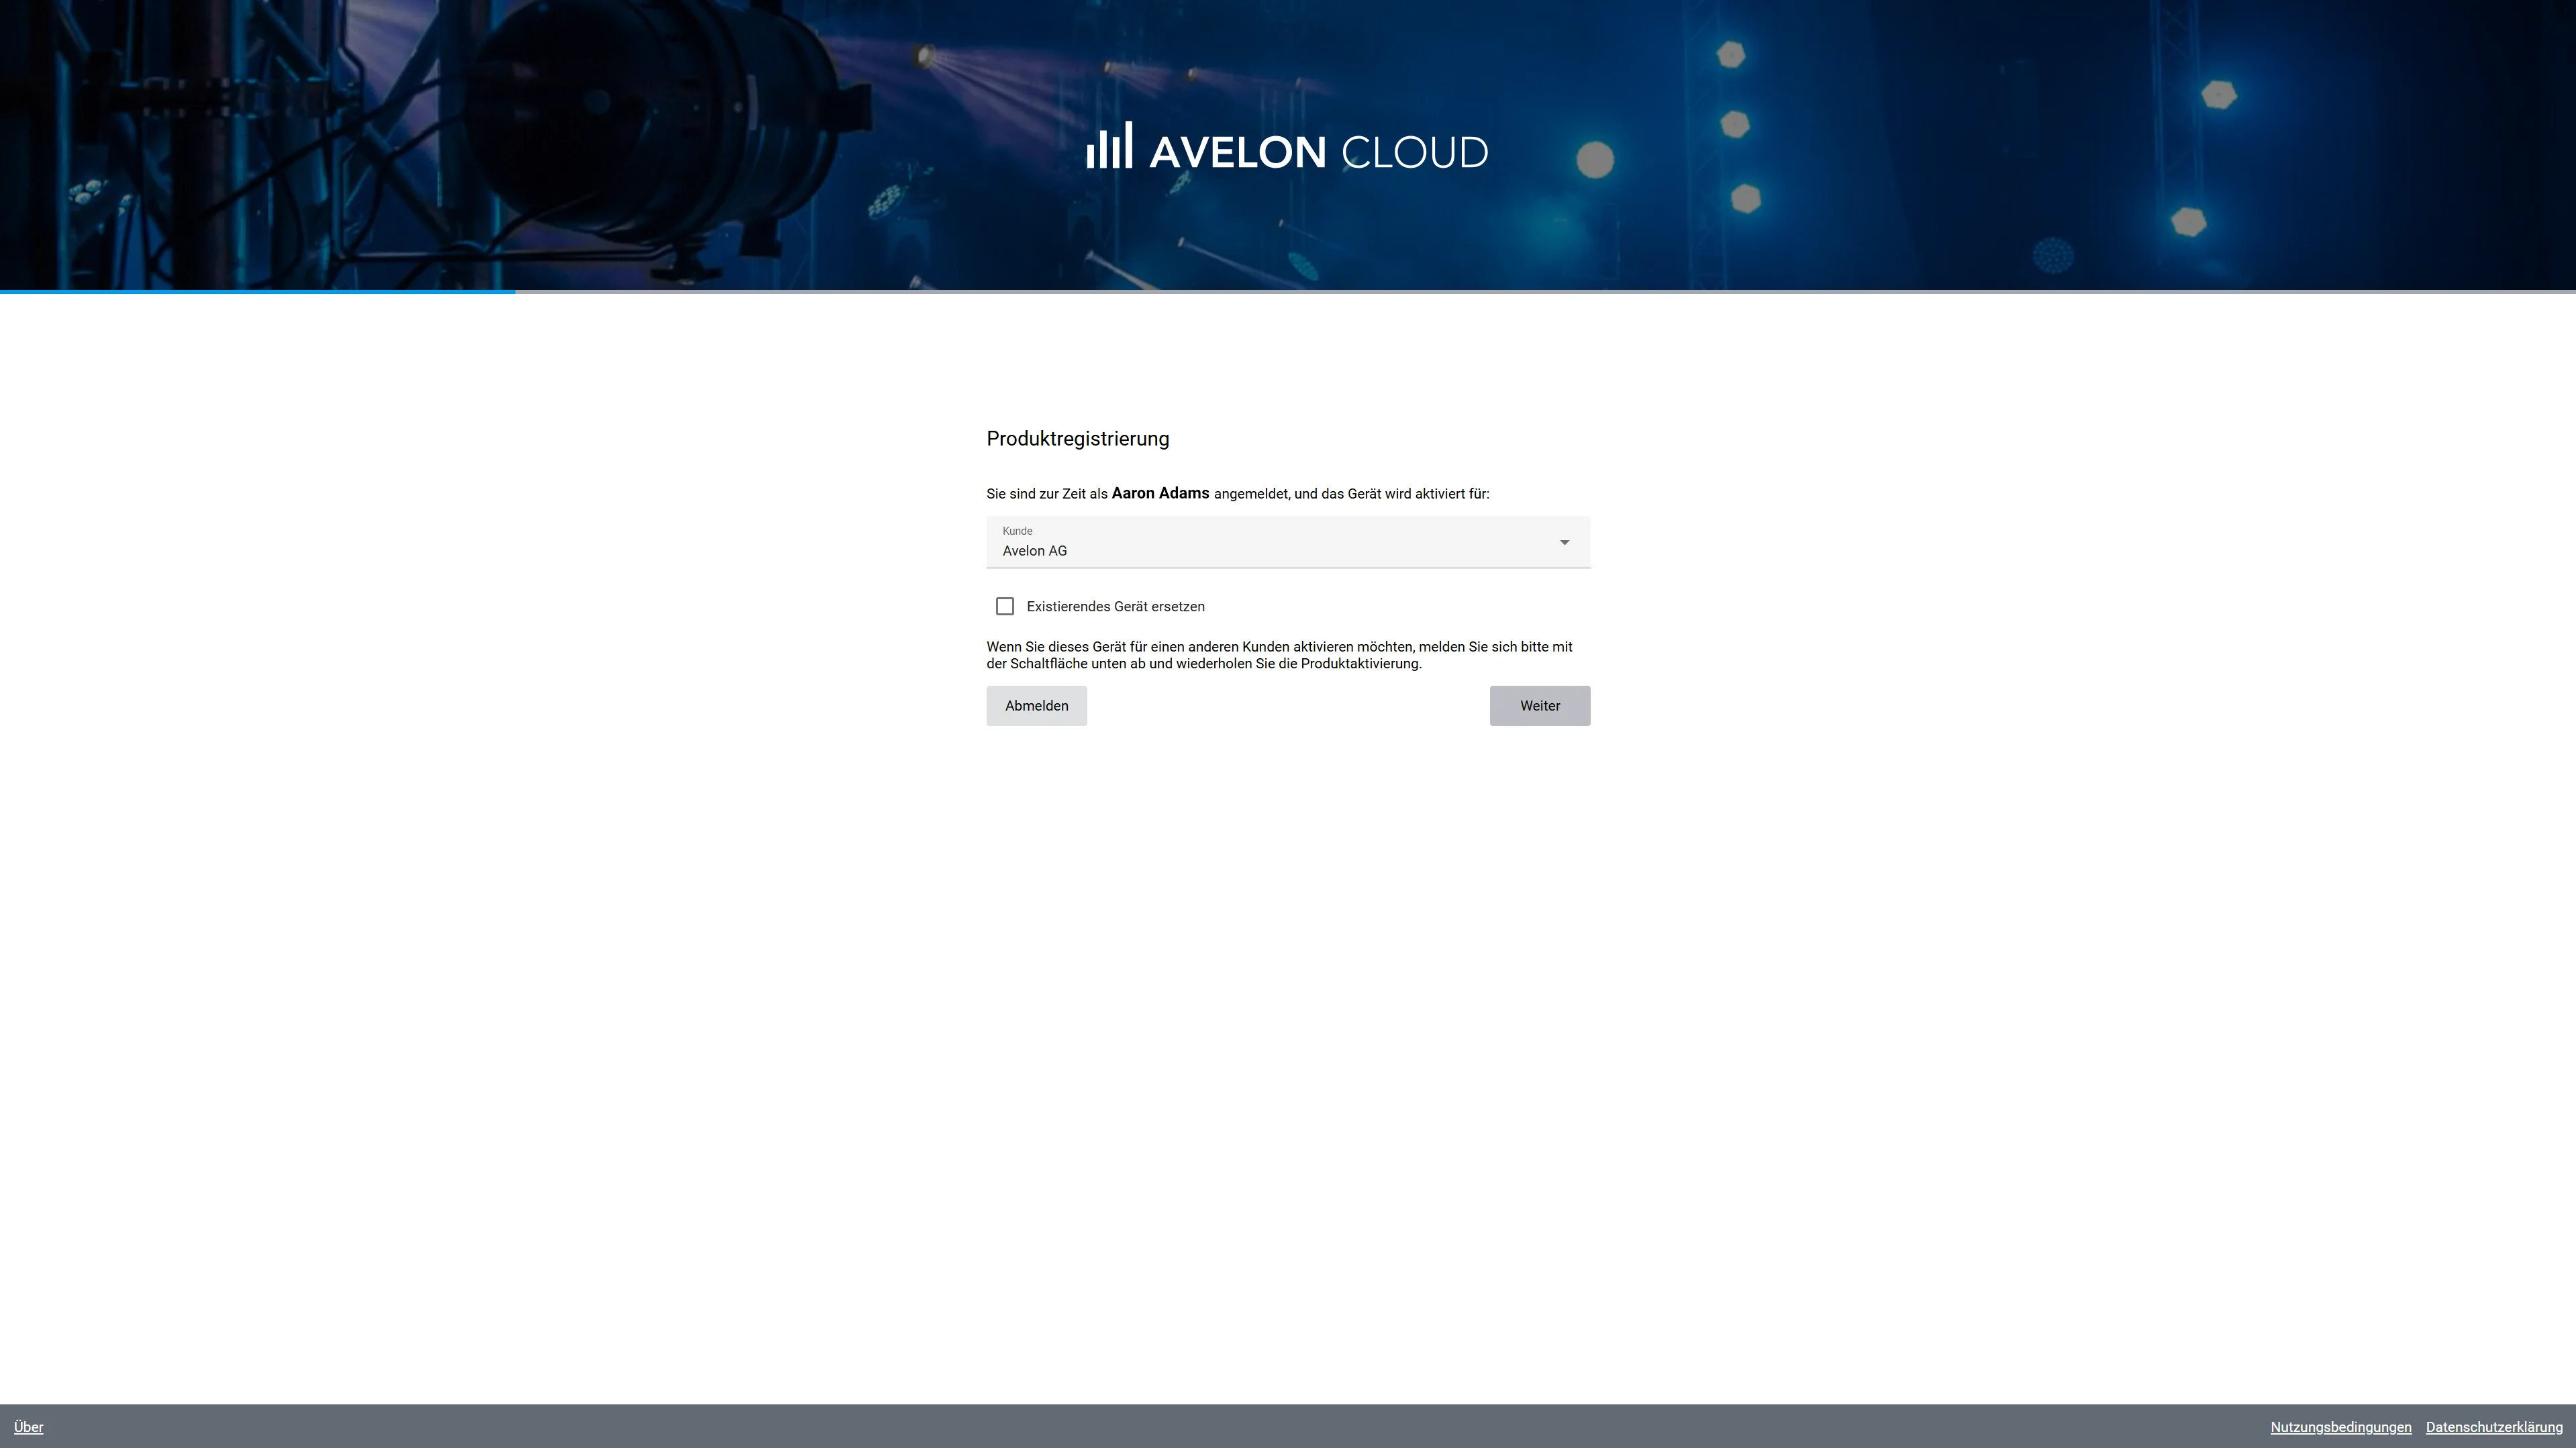
If you’re not already logged in, you can either create a new client account on the base system, or you can log in with your existing user to assign the Lumina Operation Center to your existing client account.
If you’re already logged in, you can select the appropriate client account directly.
Click on Next.
You can now enter a name for your Lumina Operation Center.
The device will be displayed with this name in the administration interface of the base system.
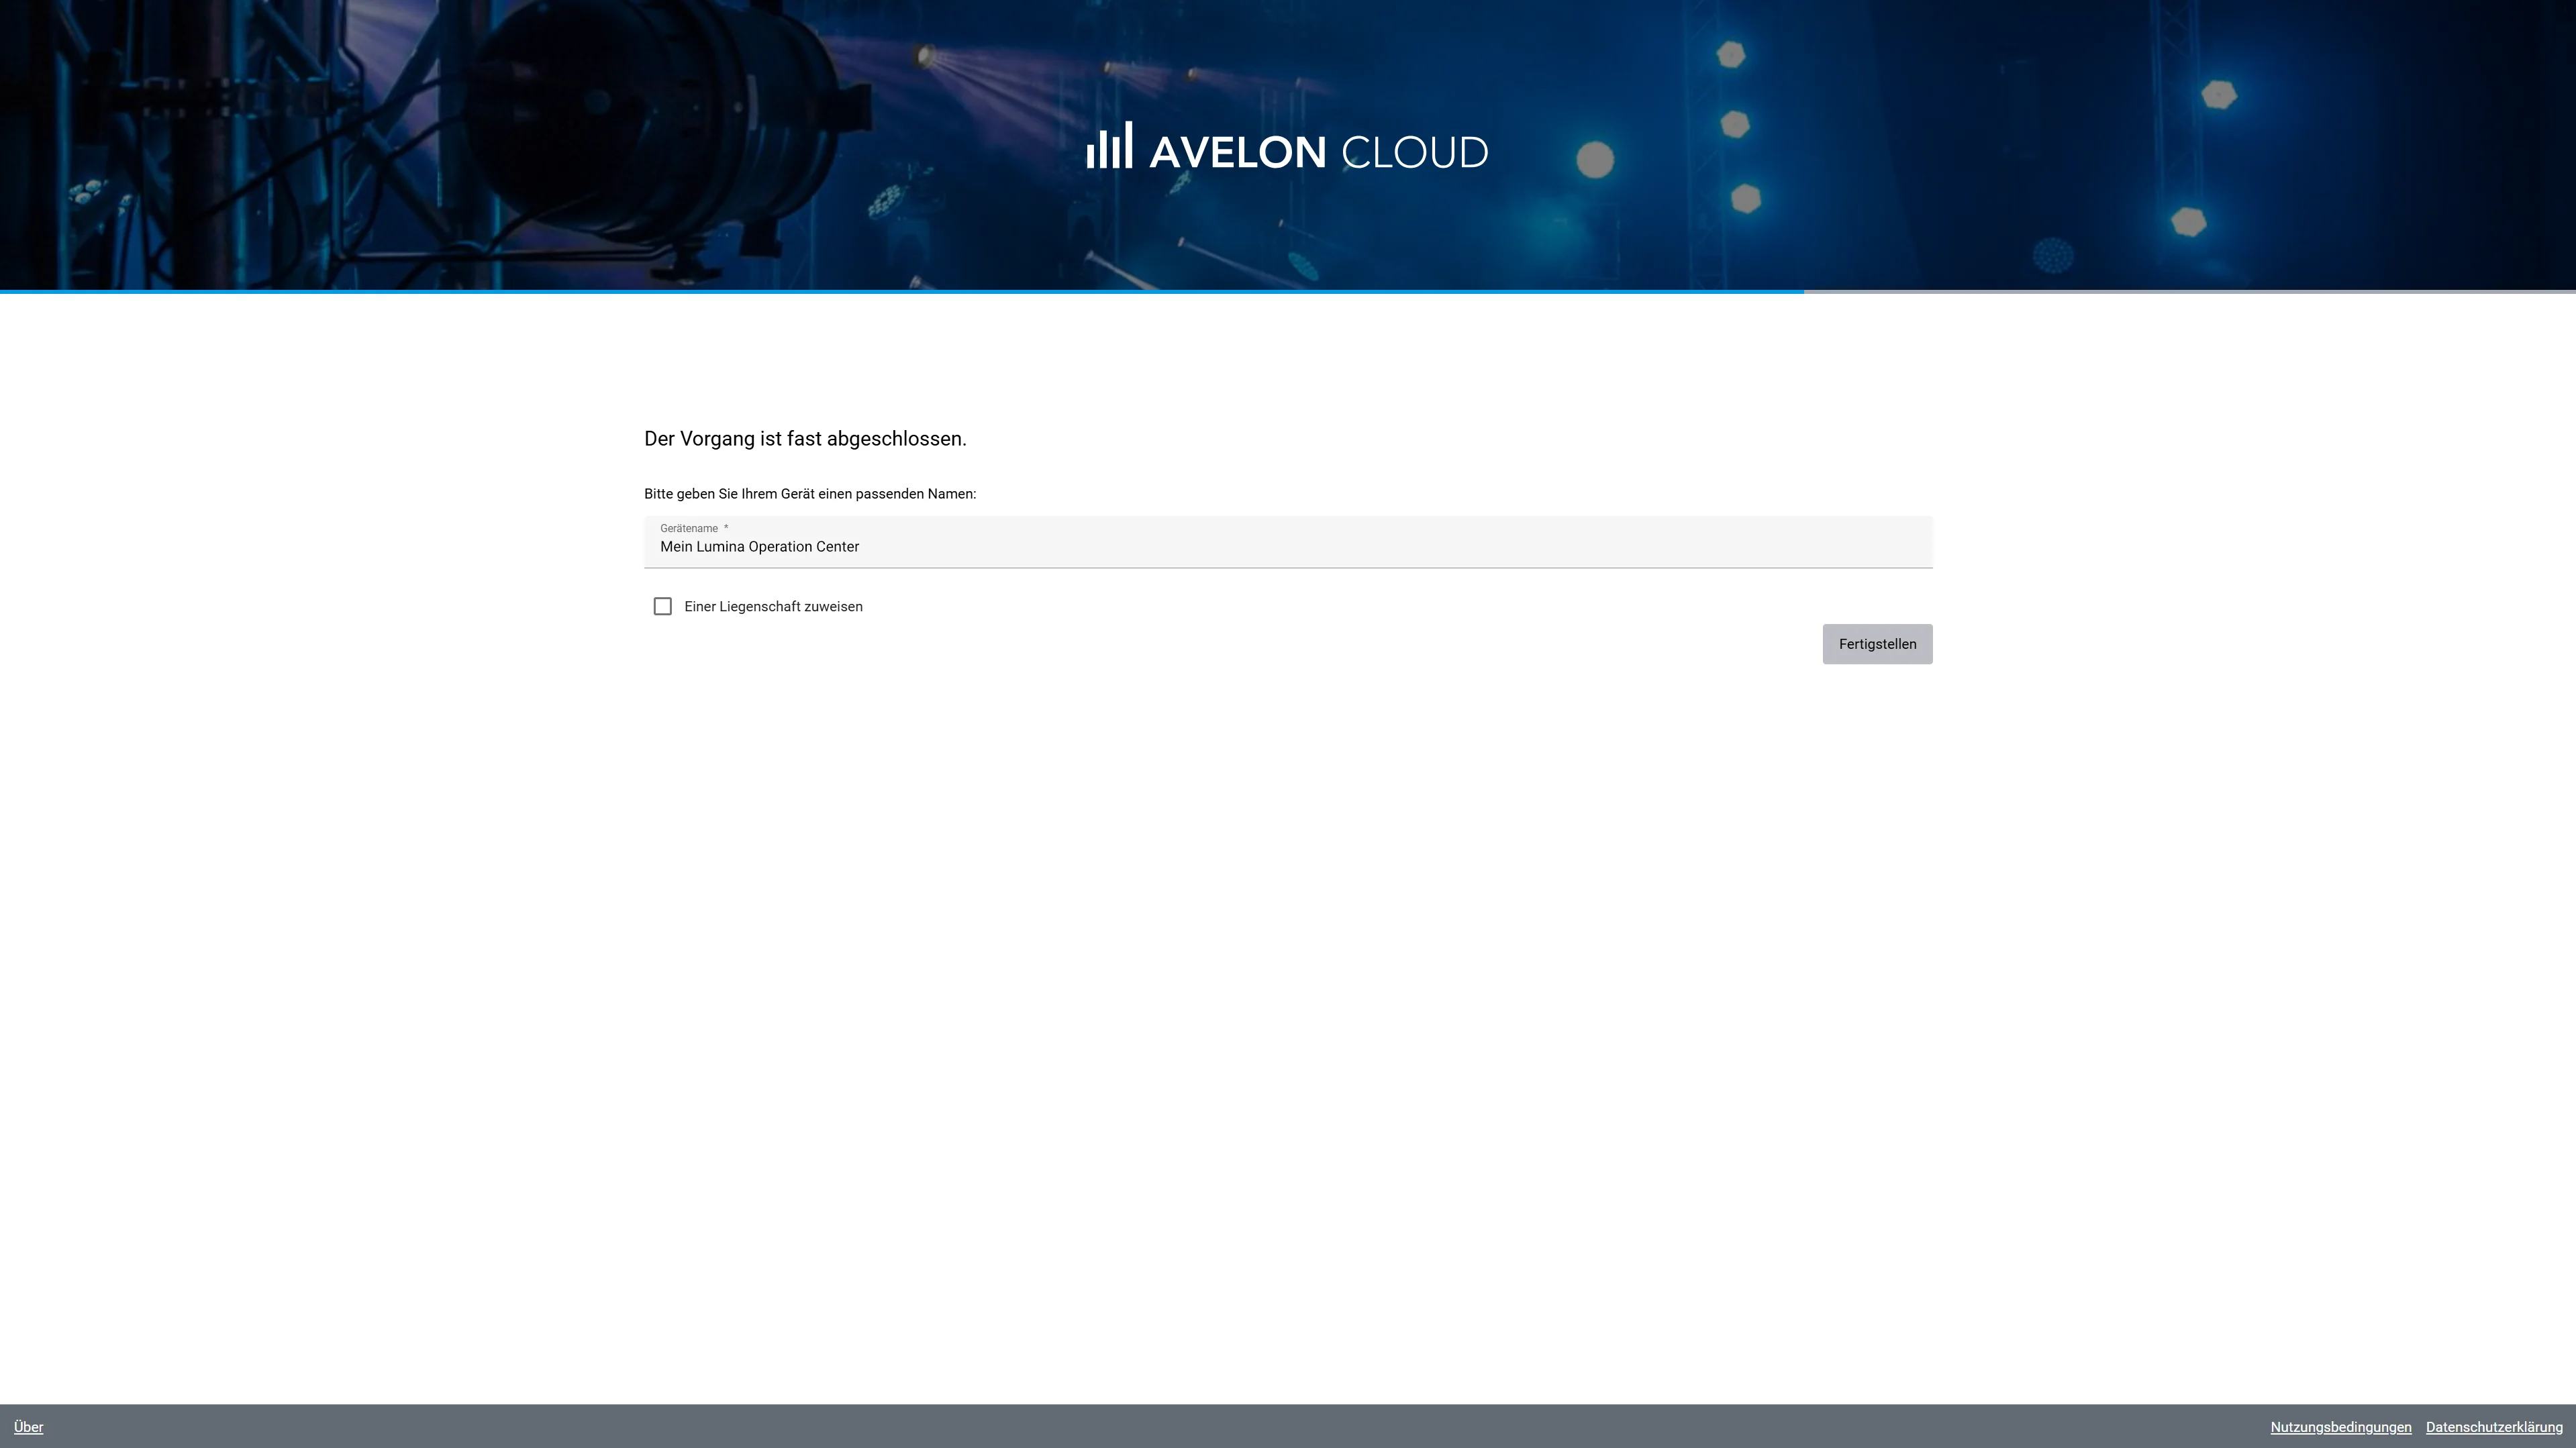
By enabling the option Assign to Real Estate, you can specify where your device is located.
This step is optional, though.
If you already have a real estate defined in the base system, you can select it from the Real Estate list. Otherwise, you can create a new one.
If you click on Find real estates nearby, the system will try to determine your current location and fill the fields for you.
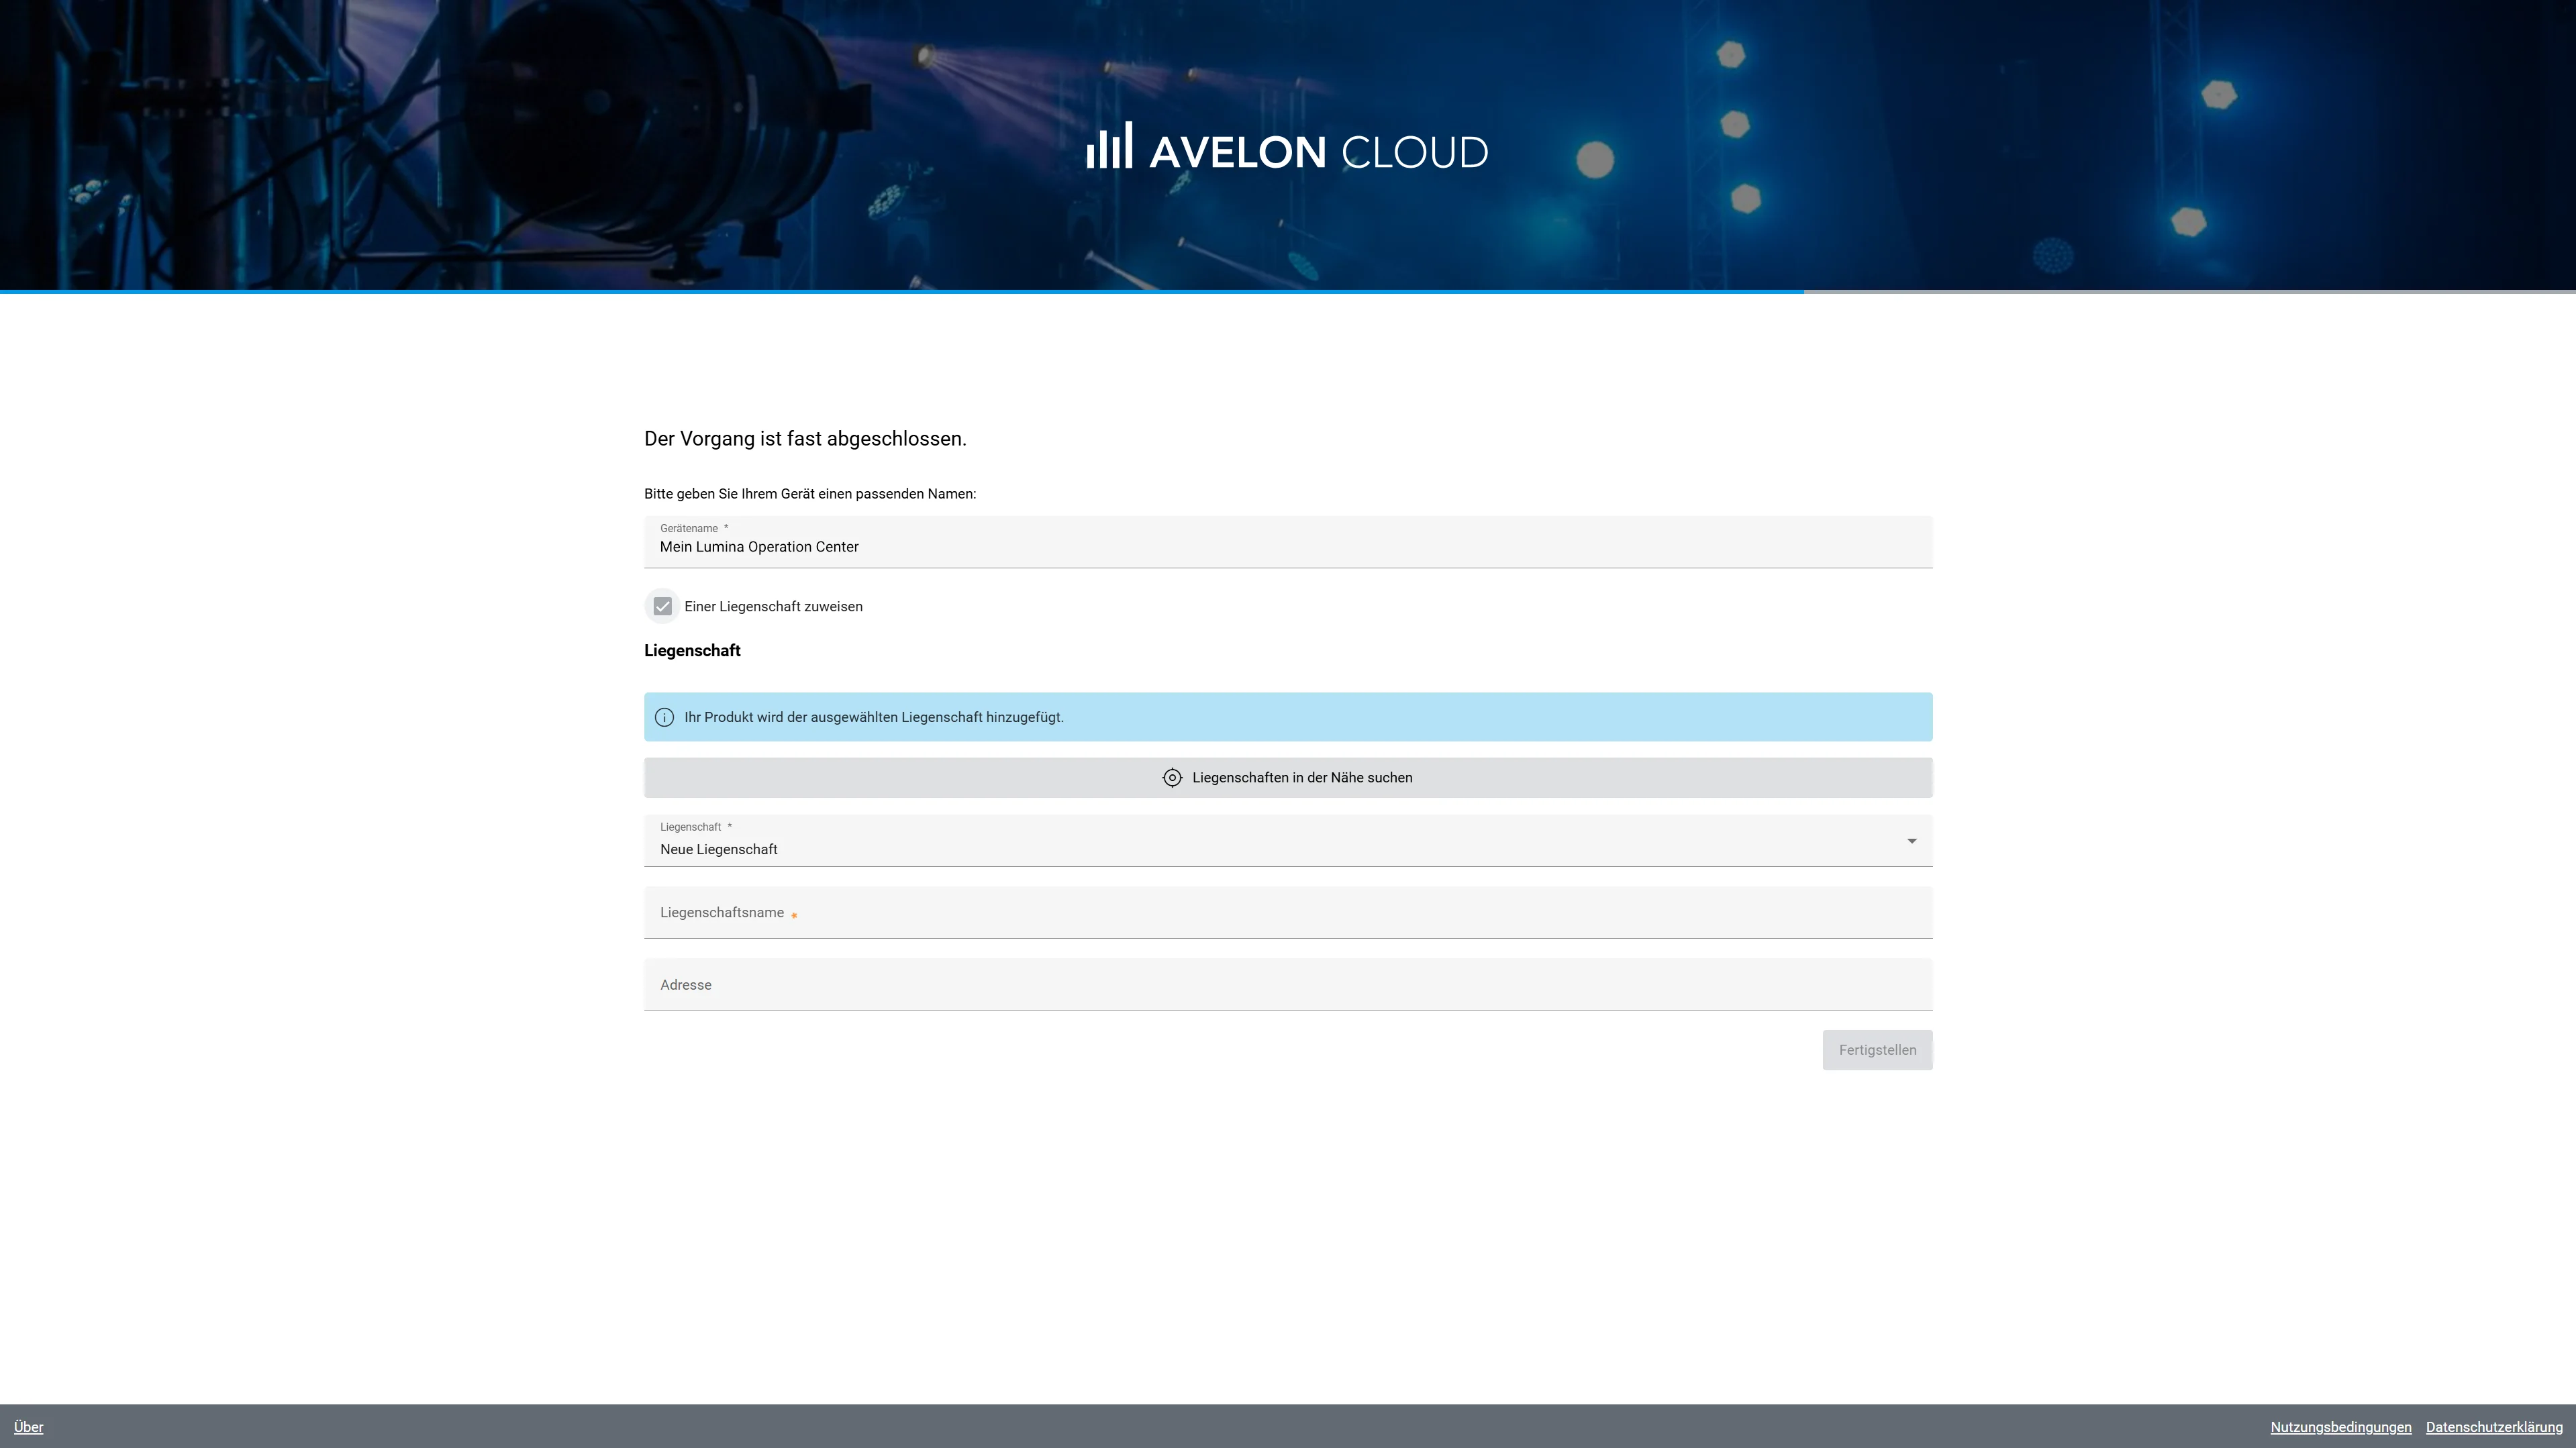
Click on Finish to complete the registration process.
After completing the registration process, you will be redirected to the Device Configuration page.
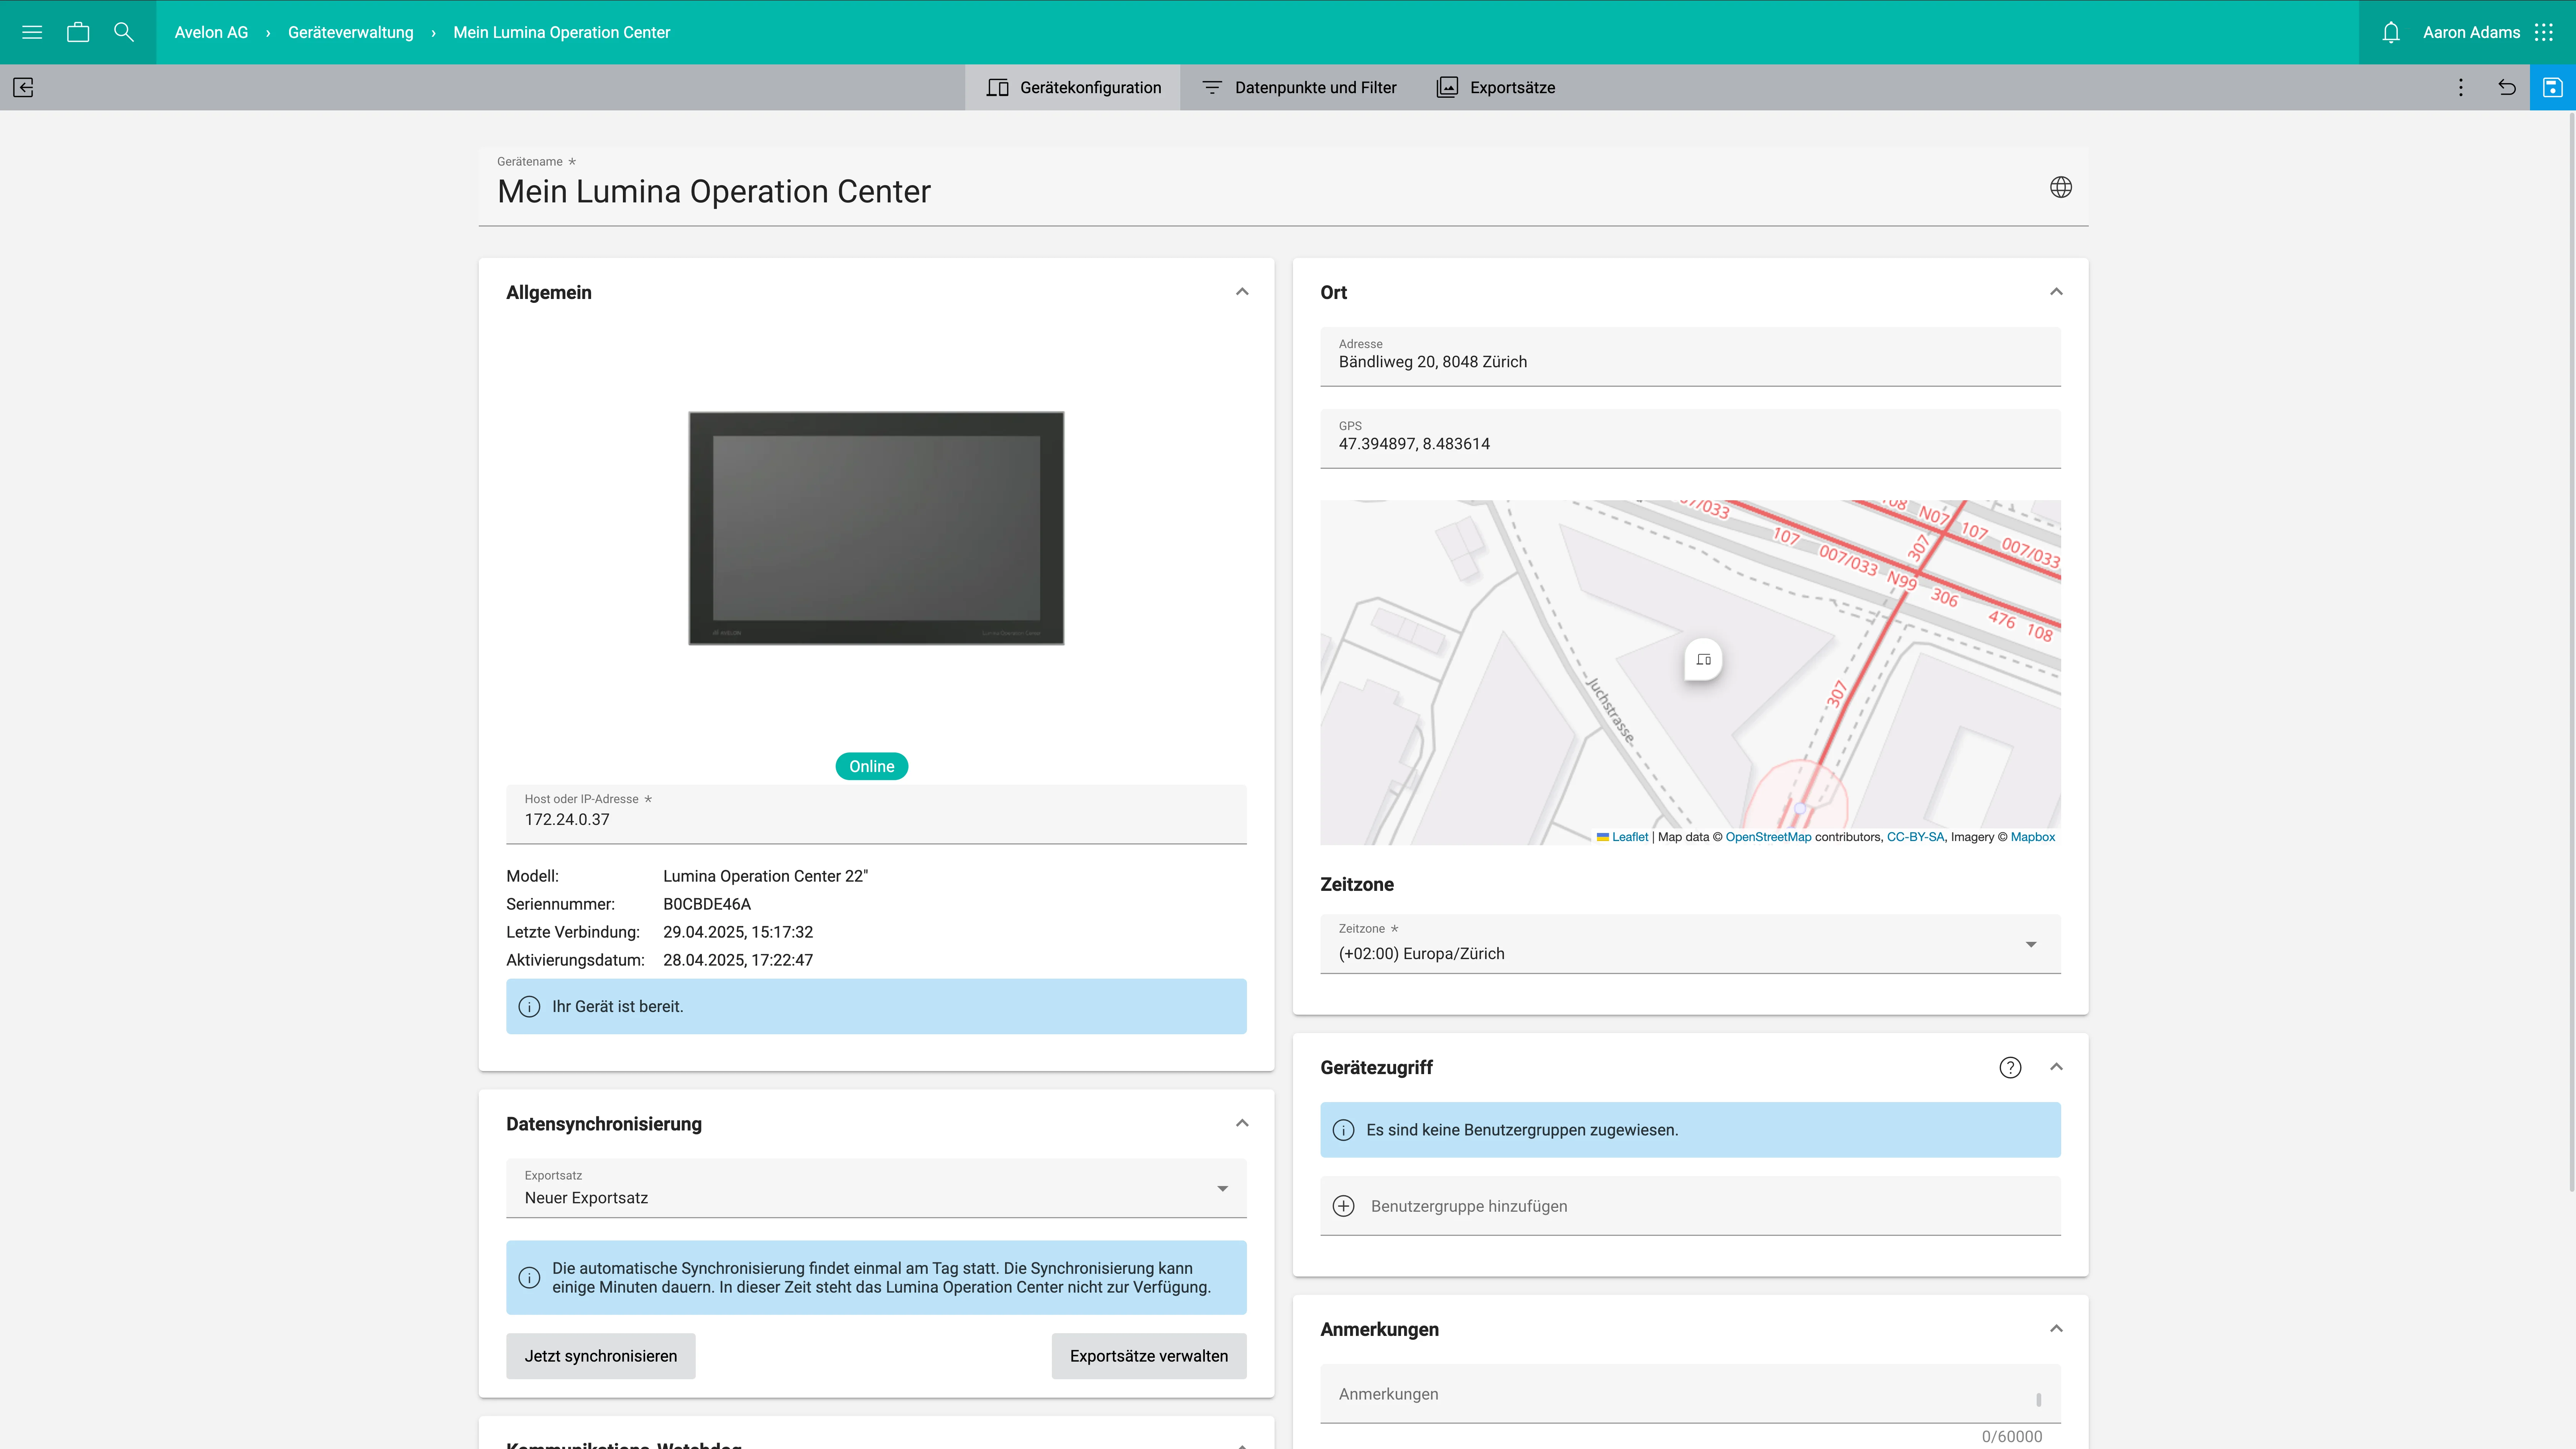
You can now create an export set and synchronize it with the Lumina Operation Center. An export set is a collection of dashboards that you want to use on the panel.