Dashboard categories
You can assign categories to dashboards. This makes it easier for you to use dashboards later. Before you can use categories, you must first set them up.
Manage categories
Activate the editing mode of the dashboard by clicking Edit Dashboards.
Click the Manage Categories… item in the More menu.
Create categories on the left side of the displayed dialog and set the name and color of the corresponding category on the right side.
Exit the dialog with Close.
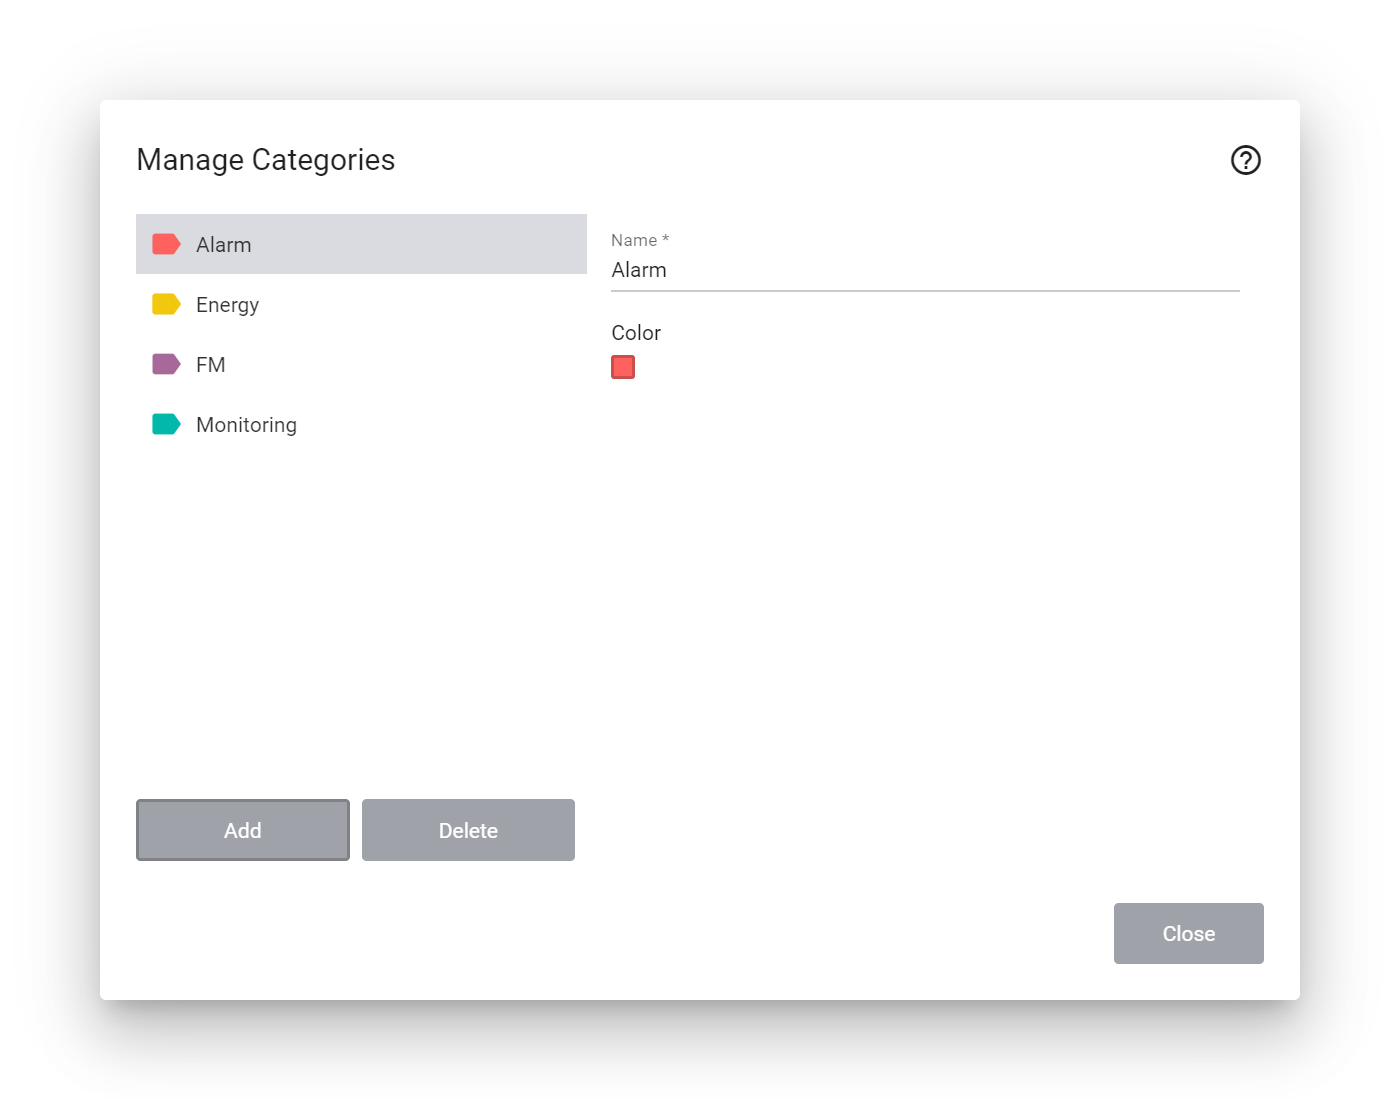
You can manage any number of categories. These are then available for all dashboards of the current client.
Assign categories to dashboards
Once you have created one or more categories, you can assign them to your dashboards.
Activate the edit mode by clicking Edit Dashboards.
Then click More in the action bar and then on Configure Dashboard.
Assign the categories in the Categories section and save the change by clicking Save.
Warning
Once you have assigned at least one category to a dashboard, it will then only be visible to users who have also been assigned that category.
Restrict access to dashboards with a specific category
The primary use of dashboard categories is to restrict access for some user groups to only a specific set of dashboards. For more information, see Dashboard categories on user groups.
Filter by categories
Use the Filter by Dashboard Category button at the top of the Group Navigation area to select one or more categories. Afterwards, only those groups are displayed in the group navigation which contain dashboards with the selected categories.