Advanced features
Multiple selection
If you want to acknowledge or close several tickets at the same time, you can do this using the multiple selection function. Enable multiple selection by clicking Select Tickets at the top in the toolbar. You can then select several tickets by clicking on them one after the other. The selection will be shown to you on the left side based on selection boxes.
Now click on Acknowledge Tickets or Close Tickets in the toolbar to edit the selected tickets accordingly. Clicking again on Select Tickets takes you out of the multiple selection mode.
Export ticket list
You can export the ticket list by clicking Download at the top in the toolbar. The ticket list is exported with the following columns:
- Date
The date the ticket was created.
- Time
The time at which the ticket was created.
- Description
The ticket text of the original alarm or event.
- Source
The source that invoked the ticket. Either the device name (for alarms) or the name of the tenant (for user reports).
- Object
The affected building, if it is a user report.
- Concluding Report
The comment that was entered when the ticket was closed.
- Author
The name of the user who closed the ticket.
- Runtime [h]
The time in hours between the first occurrence of the alarm and the closing of the ticket.
- Alarm Chain
The active alarm chain whose users were last notified.
- Responsible
The name of the person responsible who was manually assigned to the ticket.
- Due
The due date manually assigned to the ticket.
- Priority
The priority level of the ticket.
- Status
The current ticket status (see section Ticket status earlier in this chapter).
Filter
Click the options icon in the appropriate column heading to filter for specific tickets. For example, you can restrict the tickets displayed by status, creation date, or description. The filter is only temporary and is reset as soon as you change the view. If you want to permanently hide certain ticket statuses, do this via the widget configuration already described above.
Set time interval
To set the time interval, you must first switch the widget to edit mode. The time selection then appears at the top in the action bar. For more information on time selection, refer to the Time selection section.
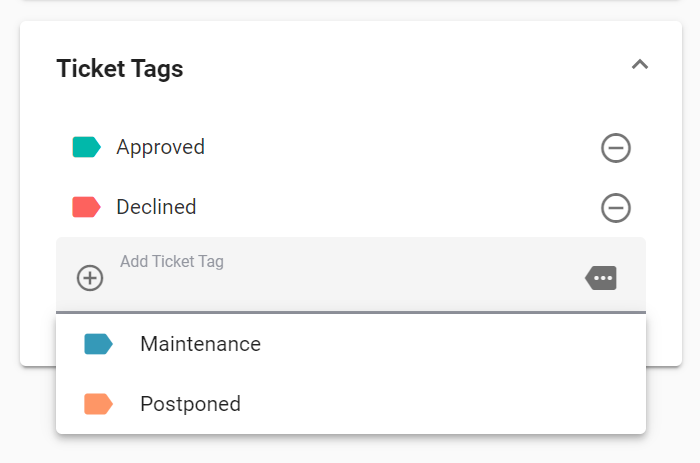
Ticket tags
You can create ticket tags and assign them to tickets in order to classify them according to their current status. For example, if a ticket needs approval from stakeholders before it can be further processed, you can create a tag named “Approved” and assign it to the ticket at the appropriate time.
Tickets on the ticket list can be filtered by their tags, and the tags can be assigned to tickets at any time from the ticket details view by clicking on Edit at the bottom of the ticket details.
Note
In order to manage ticket tags or assign them to user roles, your own user role needs the action rights “Edit ticket tags” and “Create, rename and delete user roles and assign ticket tags”, respectively.
Assign ticket tags to user roles
In order to be able to add ticket tags to tickets, they must be assigned to a user role first. Only users with that user role are allowed to assign or unassign the corresponding ticket tags. Simply select an existing tag from the dropdown to assign it to the current user role.
Warning
Ticket tags that are not assigned to any user role cannot be added to tickets.