Reporting widget
Using the reporting widget, reports that were previously created using a report job can be displayed on the dashboard, thereby making them available to your clients.
Set up the reporting widget
To learn how to add widgets to your dashboards, see the Widgets chapter.
Configure the reporting widget by either clicking the Edit button on the corresponding widget when in dashboard edit mode, or by clicking Full View to switch the widget to full view and then on Edit to enter the edit mode.
A bar appears on the right which shows all report jobs that are configured in the system. Drag the report job whose reports you want to display in the widget to the bottom left of the empty area. If there are already reports created based on the selected report job, they will now be displayed at the top of the widget.
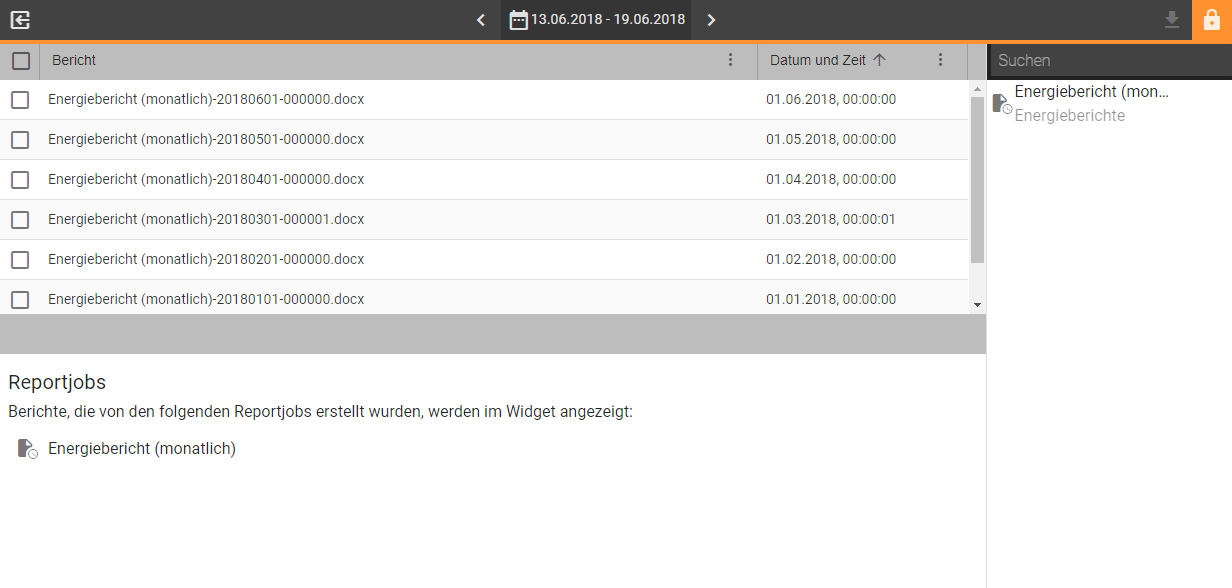
The reporting widget in edit mode, with the available report jobs on the right, the assigned report jobs at the bottom left, and the current reports of the assigned report jobs at the top left
In view mode, only the generated reports are displayed. The sidebar on the right and the configuration area at the bottom are hidden.
The time interval of the displayed reports can be set via the date selection above the widget. If you change the interval in edit mode, the change is saved permanently. In the view mode, you must select the Set as Default Time Interval icon in order to save it, otherwise the change will be reset to the previous value the next time the page is reloaded.
The individual reports can be downloaded directly from the widget by simply clicking on them in the list. If you would like to download several reports at the same time, select the check mark in the first column of the corresponding reports and then click on Download at the top right.
Set up report jobs
For information on how to create report jobs, see Set up report jobs.