Document management
Preferences
After successfully installing the application, you need to set it up. Go to Preferences and select a location for the Avelon Share folder that will be created on your local machine.
Next, you can choose which folder or folders specifically you want to synchronize with your local machine, along with their content. To do this, click on Configure Selective Synchronization and select from the tree view the desired folders by ticking or unticking the checkboxes next to each folder. When done, click OK.
Select a specific language for the app and choose whether the app should run on system startup. You can also choose whether a desktop notification should be displayed on your desktop for every change made to the folders or to the documents.
Save your preferences by clicking on OK.

Avelon Share preferences menu
Manage documents
All the synchronized documents will be displayed in the desktop app and any change made to them will be reflected in this document list. If synchronization is up to date, the status on the desktop app will be Up to date. You can pause or resume synchronization by clicking on the same button.
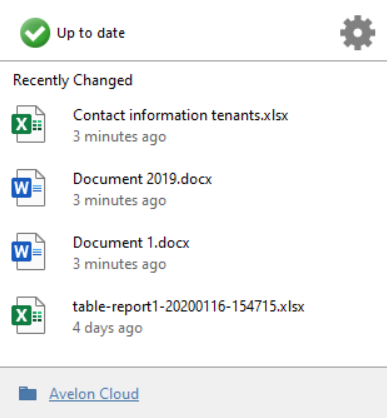
Document list in desktop app
All your documents in the Avelon system will also be synchronized on your local machine, in the Avelon Share folder, in the location selected previously under Preferences. Here, you can add, delete, copy or move documents or folders, just like you would in normal Windows folders. Synchronized documents will be marked with a green icon. Every change made to files in the Avelon Share folder will be reflected in the Avelon system and vice versa.
Note
All file changes are logged in the main window of the application. You can keep track of what changes have already been synchronized at any time.